
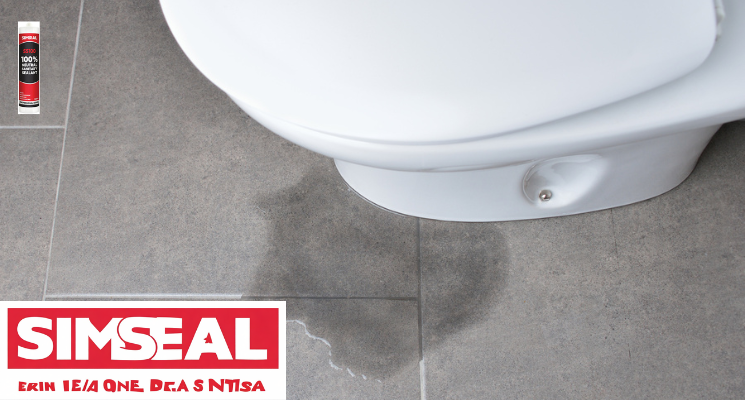
How to Seal a Leaky Toilet? A leaky toilet can cause significant water damage and compromise bathroom hygiene if left untreated. Using quality silicone sealant provides a reliable waterproof barrier that prevents leaks and protects your bathroom floor. This guide shows you how to properly seal around your toilet base using professional techniques and Simseal products.
Why Silicone Sealant is Essential for Toilet Sealing
Silicone sealant creates a flexible waterproof barrier that prevents water from seeping under the toilet base. Unlike other sealants, quality silicone sealant maintains its flexibility and mould resistance in wet bathroom environments. For toilet applications, always choose a sanitary grade silicone sealant specifically formulated for wet areas.
Tools and Materials You Will Need
-
SS100 Wet Area silicone sealant
-
Caulking gun
-
Utility knife
-
Disposable gloves
-
Clean cloths
-
Painter’s tape
-
Smoothing tool
Step-by-Step Toilet Sealing Process
1. Surface Preparation
Begin by thoroughly cleaning the area around the toilet base. Remove any old sealant using a utility knife. Clean the floor and toilet base with methylated spirits to ensure proper adhesion of the new silicone sealant. The surface must be completely dry before application.
2. Apply Painter’s Tape
For clean lines, apply painter’s tape along both sides of the joint between the toilet base and floor. This step ensures a professional finish and prevents excess silicone sealant from spreading onto adjacent surfaces.
3. Apply the Silicone Sealant
Load the silicone sealant tube into your caulking gun. Cut the nozzle at a 45 degree angle and apply a continuous bead of silicone sealant around the entire toilet base. Ensure the sealant fills the gap completely.
4. Smooth and Tool the Sealant
Immediately smooth the silicone sealant using a profiling tool or finger dipped in soapy water. Create a concave finish that directs water away from the toilet base. Remove the painter’s tape before the silicone sealant begins to skin over.
5. Curing Time
Allow the silicone sealant to cure fully for 24 hours as specified in the product Technical Data Sheet (TDS). Avoid using the toilet during this period to ensure proper adhesion and waterproofing.
Matte Finish for Modern Bathrooms
For a contemporary bathroom aesthetic, Simseal offers silicone sealant with a matte finish. This innovative formulation provides a non reflective velvety surface that blends discreetly with bathroom fixtures. The matte finish silicone sealant maintains all the performance benefits of superior waterproofing and mould resistance while offering a sophisticated look that complements modern bathroom designs.
Recommended Simseal Products
-
SS100 Wet Area – Specifically formulated for wet areas like toilets
-
Natural Stone – Ideal for sealed stone floors around toilets
-
Multi Purpose – Suitable for various bathroom applications
Professional Tips for Success
-
Always check the product Technical Data Sheet (TDS) for performance specifications
-
Review the Safety Data Sheet (SDS) before handling silicone sealant
-
Work in well ventilated conditions
-
Ensure the bathroom is dry during application
-
Tool the silicone sealant immediately after application
Maintenance and Care
Regularly inspect the silicone sealant around your toilet for signs of wear. Clean with mild bathroom cleaners to maintain the seal’s integrity. Avoid abrasive cleaners that could damage the silicone sealant surface.
Achieving Professional Results
Using quality Simseal products like SS100 Wet Area silicone sealant ensures your toilet sealing provides lasting protection against water damage. The combination of proper technique and premium materials delivers professional results that withstand daily use and maintain bathroom hygiene.
For professional and expert advice on how to seal a leaky toilet, visit Seal’em Solutions. Our team provides comprehensive support and quality Simseal products that ensure your bathroom sealing project achieves durable, hygienic results.
Recent Comments