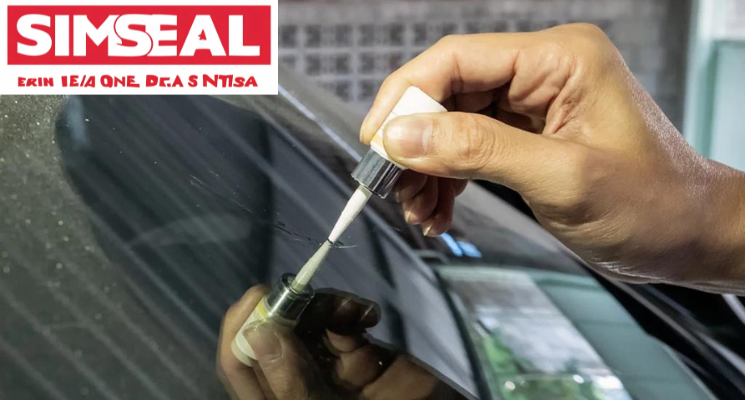
Repairing Glass: Selecting the Best Adhesives and Techniques
Accidents happen, and glass breaks. Whether it’s a cherished vase, a car window, or a household mirror, knowing how to repair glass effectively can save you time and money. This guide will walk you through the best adhesives and techniques to make your glass items look as good as new.
Understanding Glass Repair
Glass repair requires a careful approach because glass is both delicate and transparent. Using the right adhesive and technique is crucial to ensure the repair is both strong and nearly invisible.
Choosing the Right Adhesive
Epoxy Adhesives
Epoxy adhesives are among the strongest options for glass repair. They come in two parts: a resin and a hardener. When mixed, they create a powerful bond that can withstand significant stress. Epoxy is ideal for repairing large breaks or cracks in glass.
- Advantages: Strong, durable, and resistant to water and chemicals.
- Disadvantages: Requires precise mixing and can be tricky to work with.
Cyanoacrylate (Super Glue)
Super glue is a popular choice for small glass repairs. It bonds quickly and works well for minor cracks and chips.
- Advantages: Fast-drying, easy to use, and clear finish.
- Disadvantages: Less durable than epoxy and not suitable for larger repairs.
UV Light Glue
UV light glue is a specialized adhesive that cures and hardens when exposed to ultraviolet light. It’s great for glass because it dries clear and creates a strong bond.
- Advantages: Clear finish, strong bond, and easy to control.
- Disadvantages: Requires a UV light source to cure.
Silicone Sealant
Silicone sealant is useful for glass that needs flexibility, like aquariums or glass windows. It’s waterproof and can accommodate slight movements.
- Advantages: Flexible, waterproof, and easy to apply.
- Disadvantages: Not as strong as epoxy or super glue for structural repairs.
Techniques for Glass Repair
Cleaning the Surface
Before applying any adhesive, clean the glass thoroughly. Use rubbing alcohol or a glass cleaner to remove any dirt, grease, or fingerprints. A clean surface ensures better adhesion.
Applying the Adhesive
- Epoxy Adhesives: Mix the resin and hardener according to the manufacturer’s instructions. Apply a thin layer to both surfaces to be joined. Press them together and hold until the epoxy sets.
- Super Glue: Apply a small amount to one surface. Press the pieces together firmly for a few seconds.
- UV Light Glue: Apply the glue and then expose it to UV light until it cures.
- Silicone Sealant: Apply a bead of sealant to the edge of the glass and press the pieces together.
Clamping the Pieces
If possible, clamp the glass pieces together to ensure a strong bond. Use rubber bands or masking tape for smaller items. Let the adhesive cure completely before handling the item.
Finishing Touches
After the adhesive has cured, remove any excess glue with a razor blade or glass scraper. Polish the area with a glass cleaner to achieve a seamless finish.
Tips for a Successful Repair
- Safety First: Always wear gloves and safety glasses when handling broken glass.
- Patience: Allow adequate curing time as per the adhesive’s instructions.
- Minimal Adhesive: Use the smallest amount necessary to avoid visible excess.
Conclusion
Repairing glass doesn’t have to be daunting. With the right adhesive and technique, you can restore your broken glass items to their original glory. Whether you’re using epoxy for a heavy-duty repair or super glue for a quick fix, the key is in the preparation and application. Happy repairing!


Recent Comments