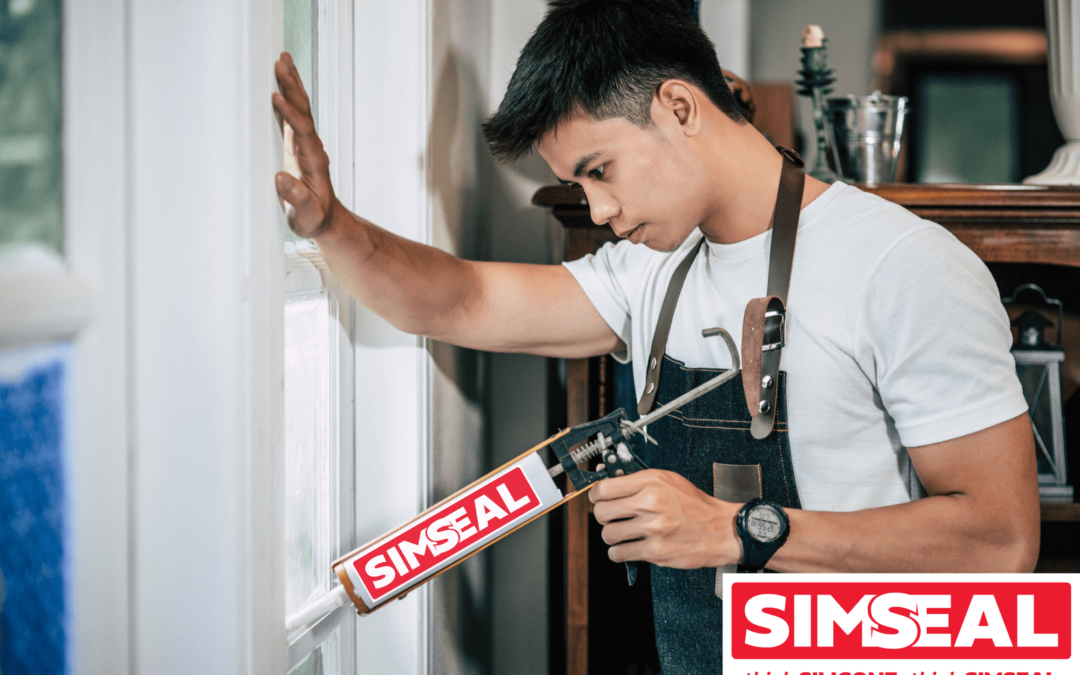
The Ultimate Guide to Sealing Windows with Silicone Sealant
Why Silicone Sealant is the Best Choice for Australian Windows
Silicone sealant is the go-to solution for sealing windows in Australia’s harsh climate. Unlike other sealants, silicone offers superior waterproofing, flexibility, and resistance to extreme temperatures—making it perfect for keeping out moisture, dust, and noise while improving energy efficiency.
At Simseal, we specialise in high-performance sealing solutions for residential and commercial applications. In this guide, we’ll walk you through the best practices for sealing windows with silicone sealant, ensuring a long-lasting, professional finish.
Step-by-Step Guide to Sealing Windows with Silicone Sealant
1. Prepare the Window Surface
Why it matters: Proper surface prep ensures maximum adhesion and durability.
What You’ll Need:
- Utility knife or razor blade
- Silicone sealant remover (e.g., isopropyl alcohol)
- Mild detergent & sponge
- Hair dryer or heat gun (optional)
Steps:
- Remove old sealant – Carefully cut away peeling or cracked sealant with a utility knife. For stubborn residue, use a heat gun to soften it before scraping.
- Clean thoroughly – Wipe down the frame and glass with a mild detergent to remove dirt, grease, and mould.
- Dry completely – Any moisture will weaken adhesion, so allow the surface to dry fully before applying new sealant.
2. Apply the Silicone Sealant Like a Pro
Pro Tip: For best results, use Simseal’s premium silicone sealant, designed for Australian weather conditions.
What You’ll Need:
- High-quality silicone sealant (100% waterproof)
- Caulking gun
- Masking tape (for clean edges)
- Plastic smoothing tool or wet finger
Steps:
- Cut the nozzle at a 45° angle – Match the bead size to the gap (usually 3-5mm).
- Load the caulking gun – Insert the tube and prime it until sealant flows smoothly.
- Apply a steady, even bead – Hold the gun at a consistent angle and move steadily along the gap.
- Smooth the sealant – Use a plastic tool or wet finger to create a neat finish.
- Remove masking tape (if used) – Peel it off before the sealant dries to avoid tearing.
3. Allow Proper Curing Time
Silicone sealant typically takes 24 hours to cure fully, but humidity and temperature can affect drying time.
- Avoid touching or exposing to water during curing.
- Speed up drying with a fan or dehumidifier (if needed).
Key Benefits of Silicone Sealant for Windows
- Energy Efficiency – Reduces drafts, lowering heating & cooling costs.
- Waterproof & Weatherproof – Stops leaks, even in heavy rain.
- Long-Lasting Flexibility – Won’t crack under temperature changes.
- Mould & UV Resistant – Ideal for Australia’s harsh climate.
Silicone vs. Acrylic Sealant – Which is Best?
| Feature | Silicone Sealant | Acrylic Sealant |
|---|---|---|
| Waterproof | ✅ Yes | ❌ No (water-resistant only) |
| Flexibility | ✅ High (moves with window) | ❌ Rigid (can crack) |
| UV Resistance | ✅ Excellent (won’t degrade) | ❌ Poor (breaks down in sun) |
| Paintable | ❌ No | ✅ Yes |
Winner: Silicone is the best choice for durable, weatherproof sealing.
FAQs – Expert Tips for the Best Results
Q: How long does silicone sealant last on windows?
A: High-quality silicone (like Simseal’s) lasts 10+ years with proper application.
Q: Can I paint over silicone sealant?
A: No—silicone is not paintable. If painting is needed, use a hybrid sealant or acrylic.
Q: What’s the best silicone sealant for Australian windows?
A: Look for 100% silicone, UV-resistant, and mould-proof formulas like Simseal’s professional-grade range.
Need a Professional-Grade Sealant? Try Simseal!
For long-lasting, weatherproof sealing, trust Simseal’s high-performance silicone sealants. Designed for Australian conditions, our products deliver:
- Superior adhesion
- Flexibility in extreme temps
- Mould & UV resistance


Recent Comments