How to Seal a Leaky Shower: Expert Silicone Sealant Guide
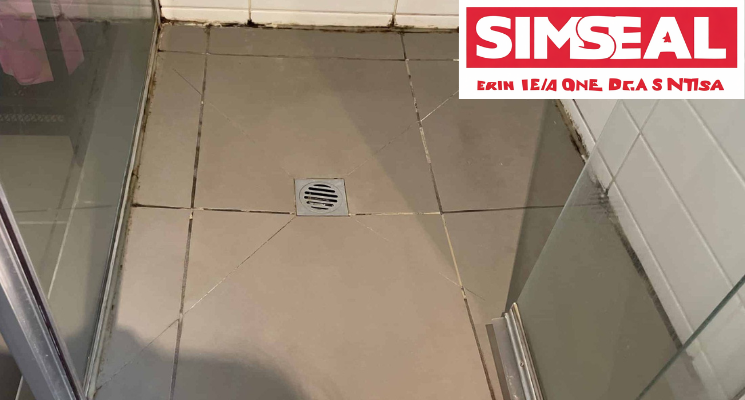
Understanding how to seal a leaky shower is crucial for Australian homeowners dealing with bathroom moisture issues. A compromised shower seal can lead to significant water damage, mould development, and expensive repairs if not handled correctly. This guide demonstrates how to properly seal a leaky shower using professional grade SS100 Wet Area silicone sealant for durable, long lasting results.
Why SS100 Wet Area Performs Best for Shower Repairs
When learning how to seal a shower, selecting the right product makes all the difference. SS100 Wet Area neutral cure formula provides exceptional flexibility and superior adhesion properties, making it ideal for shower seal applications. This mould resistant compound maintains permanent elasticity, enabling it to accommodate temperature variations and movement without compromising its waterproof seal. Unlike temporary solutions, SS100 Wet Area creates a reliable moisture barrier that stands up to daily shower use and constant water exposure.
Essential Equipment for Shower Sealing
Before beginning your shower repair project, ensure you have these necessary items:
-
SS100 Wet Area silicone sealant
-
Quality caulking gun
-
Sharp utility knife
-
Protective disposable gloves
-
Lint free cleaning cloths
-
Painter’s tape
-
Professional smoothing tool
Step by Step: How to Seal a Leaky Shower
Surface Preparation
Begin by thoroughly cleaning the area where you need to seal a shower. Remove all previous sealant and debris using a utility knife, then wipe with methylated spirits to guarantee optimal adhesion for the new sealant application.
Application Technique
Load the SS100 Wet Area into your caulking gun and trim the nozzle at a 45 degree angle. Apply a consistent, continuous bead of sealant along the entire length of the joint, making certain you achieve complete coverage in the area where you need to seal a leaky shower effectively.
Finishing Process
Utilise a smoothing tool to create a uniform, professional finish, then promptly remove any excess material. Allow the sealant to cure completely for 24 hours before exposing it to water, successfully completing the process of how to seal a leaky shower.
Premium Matte Finish for Modern Showers
For homeowners seeking a contemporary, high end aesthetic, the SS100 Wet Area matte finish stands out as the superior choice for shower sealing applications. This innovative formulation creates a velvety, non reflective surface that expertly conceals minor imperfections, irregular seams, and surface variations, making it particularly ideal for modern bathroom designs. The matte option maintains all the exceptional performance benefits of the SS100 Wet Area range including 100% waterproofing, permanent flexibility, and mould resistance while delivering a discreet, sophisticated appearance that elevates various tile patterns and bathroom aesthetics.
Technical Specifications and Safety Guidance
Reviewing the Technical Data Sheet (TDS) and Safety Data Sheet (SDS) for SS100 Wet Area is recommended when learning how to seal a shower. The TDS offers comprehensive performance specifications including adhesion strength and movement capacity, while the SDS contains vital safety information and handling instructions. These documents ensure correct usage and help achieve optimal results when undertaking how to seal a leaky shower projects.
Professional Outcomes for Long Term Protection
Mastering how to seal a shower correctly with premium products like SS100 Wet Area ensures enduring protection against water damage. The appropriate techniques and quality materials distinguish between a temporary patch and a permanent solution that preserves your bathroom’s integrity against moisture penetration.
Need More Help? Talk to the Experts
While this guide covers the basics, every project is unique. For complex jobs or if you’re unsure about the right product for your specific substrate and conditions, it’s always best to get professional advice.
Contact the Simseal Support Team for personalised guidance. Their experts can help you:
-
Select the perfect product for your project.
-
Provide detailed technical information.
-
Troubleshoot application challenges.
You can find all the product specifications, TDS, and SDS documents.
For professional advice on how to seal a leaky shower, Contact Sealem Solutions.
Need Pricing or Bulk Orders?
Get a free, no obligation quote today.
Recent Comments