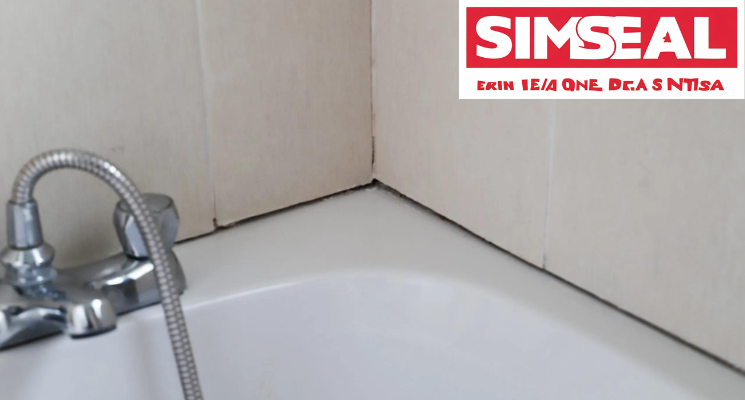
Seal a Leaky Bathtub Easily with Silicone Sealant: Learning how to seal a leaky bathtub is an essential skill for Australian homeowners; consequently, addressing this issue promptly can prevent extensive water damage and mould growth. A compromised seal around your bathtub can lead to serious structural issues if left untreated; therefore, this comprehensive guide will show you how to seal a leaky bathtub using professional grade SS100 Wet Area silicone sealant.
This guide will show you how to seal a leaky bathtub using professional grade SS100 Wet Area silicone sealant for lasting results.
Why SS100 Wet Area Silicone Sealant is Ideal
Choosing the right sealant is crucial for an effective repair. Specifically, the SS100 Wet Area matte and gloss finish offers superior performance due to its neutral curing system, which won’t damage surfaces. Furthermore, this mould resistant formula is UV stable and food grade certified. Additionally, it features low VOC compliance, making it safe for indoor use. Ultimately, its flexibility ensures your seal remains intact for years.
Why Choose a Matte Finish
For those seeking a modern aesthetic, the SS100 Wet Area matte finish provides an excellent alternative to gloss. Specifically, this option delivers a velvety, non reflective surface. Moreover, it effectively hides minor imperfections and irregular seams, ensuring a sleek appearance.
Essential Tools
Before starting, gather the following tools:
-
Caulking gun
-
Painter’s tape
-
Utility knife
-
Disposable gloves
-
Methylated spirits
-
Clean cloths
-
Soapy water spray bottle
-
Smoothing tool
Step by Step Guide
Remove Old Sealant
First, carefully remove existing caulk with a utility knife. Then, ensure all residue is removed without damaging surfaces.
Clean Thoroughly
Next, clean the area with methylated spirits to remove all soap residue and moisture. As a result, this ensures proper adhesion for the new sealant.
Apply Painter’s Tape
Afterwards, run painter’s tape along both sides of the joint. Consequently, this creates clean edges and simplifies cleanup.
Apply SS100 Wet Area
Then, load the cartridge and cut the nozzle at 45 degrees. Following this, apply a consistent bead to cover the gap completely.
Smooth the Sealant
Subsequently, mist with soapy water and use a smoothing tool. Therefore, this creates a perfect concave finish.
Final Preparation
Finally, remove the tape immediately and allow 24 hours for full curing before use.
Finish and Colour Options
The SS100 Wet Area range offers 22 gloss and 14 matte options. For instance, the matte finish provides a contemporary look. Additionally, it hides imperfections well and blends seamlessly with modern designs. Moreover, this finish maintains all performance benefits while offering a subtle appearance.
Technical Properties
SS100 Wet Area is ideal for bathtub sealing due to its properties:
-
Neutral curing system
-
Mould and mildew resistance
-
UV stability
-
Food grade certification
-
Low VOC compliance
-
Permanent flexibility
-
Indoor/outdoor suitability
-
25% movement capability
Technical Specifications and Safety
It is important to consult the TDS and SDS for SS100 Wet Area before starting. Specifically, the TDS provides performance data, while the SDS contains safety guidelines. Furthermore, these documents confirm the product’s safety and suitability.
Need More Help? Talk to the Experts
While this guide covers the basics, every project is unique. For complex jobs or if you’re unsure about the right product for your specific substrate and conditions, it’s always best to get professional advice.
Contact the Simseal Support Team for personalised guidance. Their experts can help you:
-
Select the perfect product for your project.
-
Provide detailed technical information.
-
Troubleshoot application challenges.
You can find all the product specifications, TDS, and SDS documents.
For professional advice on how to seal a leaky bathtub, contact Sealem Solutions.
Need Pricing or Bulk Orders?
Get a free, no obligation quote today.
Recent Comments