When learning how to seal a crack in a window, product selection is crucial. SS100 Wet Area offers excellent flexibility and UV resistance, making it perfect for window applications. It maintains a weatherproof seal through temperature changes and window movement, preventing further crack propagation.
Essential Tools and Materials
Before starting your window repair project, gather these essential items:
-
Caulking gun
-
Utility knife
-
Disposable gloves
-
Glass cleaner
-
Lint free cloths
-
Painter’s tape
-
Smoothing tool
Step by Step Window Crack Repair Process
Surface Preparation
Clean the crack and surrounding glass thoroughly with glass cleaner. Use painter’s tape to protect adjacent surfaces and ensure clean lines.
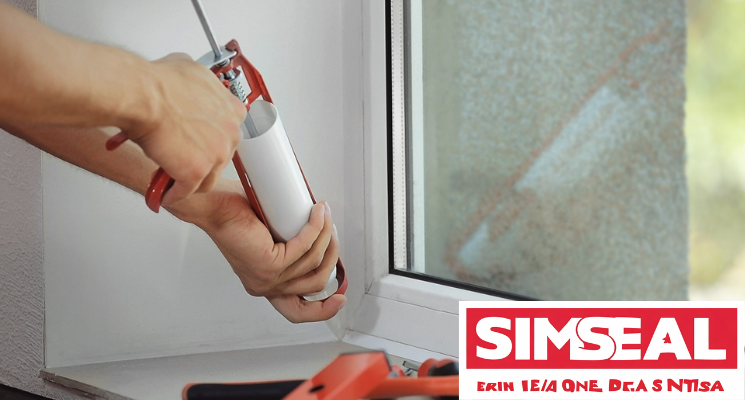
Application Technique
Apply SS100 Wet Area directly into the crack, filling it completely. Use steady pressure to ensure proper adhesion to the glass surface.
Finishing Process
Smooth the sealant with a specialised tool and remove excess immediately. Carefully remove painter’s tape before the sealant begins to skin over.
Premium Matte Finish Option
For window repairs where appearance matters, the SS100 Wet Area Matte Finish provides an exceptional solution. This advanced formulation creates a non reflective surface that blends discreetly with window frames while effectively concealing the repair. The matte finish maintains all the performance benefits of superior weatherproofing and flexibility, offering a barely noticeable solution that protects against the elements without compromising your window’s aesthetic appeal.
Simseal Products for Window Protection
-
S50 Roof, Gutter & Glass Sealant – Specifically formulated for glass and exterior applications
-
S60 Clad & Glaze – Ideal for large window frames and structural joints
-
Gap Filler – Suitable for interior window frames
Technical Specifications and Safety
Consult the Technical Data Sheet and Safety Data Sheet for SS100 Wet Area before beginning your repair. The TDS provides performance data including UV resistance and flexibility specifications, while the SDS contains important safety information for handling and application.
Professional Application Tips
-
Work in temperatures between 5°C and 35°C for optimal results
-
Ensure the window surface is completely dry before application
-
Apply sealant in a continuous bead without breaks or gaps
-
Tool the sealant immediately after application for a professional finish
-
Allow 24 hours for full curing before exposing to weather conditions
Maintenance and Care
After repairing your window, regular inspections help maintain the seal’s integrity. Check the repaired area seasonally and address any wear promptly to ensure continued protection.
Achieving Professional Results
Using quality products like SS100 Wet Area ensures your window repair withstands weather extremes and daily use. The combination of proper technique and premium materials delivers lasting results that maintain your home’s comfort and efficiency.
The future of silicone sealants requires expert knowledge and professional support. Our technical team provides comprehensive guidance on product selection, application techniques, and troubleshooting for all your sealing projects.
Ready to experience the difference?
• Shop Simseal Silicone Sealants Now
• Contact Our Experts
For professional guidance and quality sealing solutions, visit Seal’em Solutions. Our team provides expert advice that ensure your window crack repair achieves durable, professional results that stand the test of time.
Recent Comments