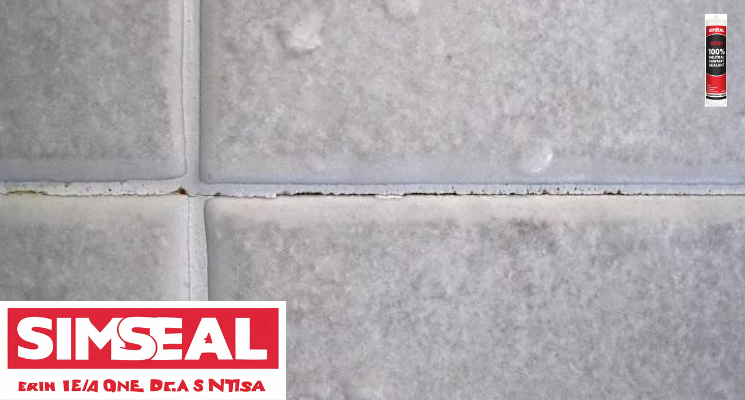
How to Seal a Crack in a Grout Line with Silicone Sealant
Learning how to seal a crack in a grout line with silicone sealant is essential for maintaining the integrity of your tiled surfaces. Cracked grout can lead to water damage, mould growth, and further deterioration of tiles if not properly addressed. This guide will show you how to seal a crack in a grout line using professional techniques and Simseal products.
Why Simseal Silicone Sealant is Ideal for Grout Line Repair
When learning how to seal a crack in a grout line, product selection is crucial. SS100 Wet Area provides superior flexibility and waterproofing compared to traditional grout. Its mould resistant formulation and permanent elasticity make it perfect for repairing cracks in wet areas like bathrooms and kitchens.
Essential Tools and Materials
Before starting your grout repair project, gather these essential items:
-
Grout removal tool
-
Utility knife
-
Disposable gloves
-
Clean cloths
-
Painter’s tape
-
Smoothing tool
Simseal Products for Comprehensive Tile Protection
-
Natural Stone – Perfect for natural stone tiles and luxury surfaces
-
S50 Roof, Gutter & Glass Sealant – Excellent for exterior tile applications
-
S60 Clad & Glaze – Ideal for structural tile joints
-
Gap Filler – Suitable for interior dry areas
-
Multi Purpose – Versatile solution for various tile types
Step by Step Grout Crack Repair Process
Surface Preparation
The first step in how to seal a crack in a grout line involves thorough cleaning. Remove any loose or damaged grout using a grout removal tool. Clean the area with methylated spirits to ensure proper adhesion.
Application Technique
Apply SS100 Wet Area directly into the crack, ensuring complete filling. Use steady pressure to force the sealant deep into the crack for maximum adhesion.
Finishing Process
Smooth the sealant with a specialised tool and remove excess material immediately. Allow 24 hours for full curing before exposing to moisture.
Premium Matte Finish Option
For grout line repairs where appearance is important, the SS100 Wet Area Matte Finish provides an exceptional solution. This advanced formulation creates a velvety, non reflective surface that blends seamlessly with existing grout and tile surfaces. The matte finish maintains all the performance benefits of superior waterproofing and flexibility while offering a discreet appearance that preserves the original aesthetic of your tiled surface.
Technical Specifications and Safety
Consult the Technical Data Sheet and Safety Data Sheet for SS100 Wet Area before starting your repair. The TDS provides performance specifications including adhesion strength and flexibility data, while the SDS contains important safety information for proper handling.
Professional Application Tips
-
Work in temperatures between 5°C and 35°C for optimal results
-
Ensure the grout line is completely dry before application
-
Apply sealant in a continuous motion along the entire crack length
-
Tool the sealant immediately after application for a professional finish
-
Avoid water exposure for 24 hours to allow proper curing
Maintenance and Long Term Care
After learning how to seal a crack in a grout line, regular maintenance ensures longevity. Inspect sealed areas every six months and address any new cracks promptly to maintain your tile surface protection.
Achieving Professional Results with Simseal
Mastering how to seal a crack in a grout line with quality Simseal products like SS100 Wet Area ensures permanent protection against water damage. The right techniques combined with premium materials prevent recurring issues and maintain your tile surfaces integrity.
For professional and expert advice on how to seal a crack in a grout line, visit Seal’em Solutions. Our team provides comprehensive support and quality Simseal products that ensure your grout line repair achieves lasting, professional results.
Recent Comments