DIY Guide: How to Make Your Own Silicone Sealant
Silicone sealant is a versatile material used for sealing joints and gaps in various projects around the home. Making your own silicone sealant can be a cost-effective alternative to store-bought options. In this comprehensive guide, we’ll explore how you can make your own silicone sealant using simple ingredients and step-by-step instructions.
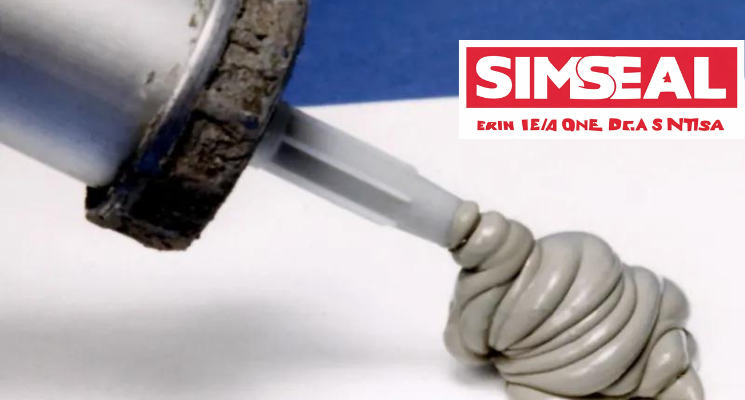
Understanding Silicone Sealant
Silicone sealant is a type of adhesive and sealant compound that remains flexible once cured. It’s commonly used for:
- Sealing around windows and doors
- Waterproofing bathroom fixtures
- Repairing and bonding materials
Making your own silicone sealant allows you to customize the formula for specific applications.
Benefits of DIY Silicone Sealant
Creating your own silicone sealant offers several advantages:
- Cost-effective alternative to commercial products
- Customizable formula for specific needs
- Ability to control ingredients and additives
- Satisfaction of a DIY project
Now, let’s dive into the process of making your own silicone sealant.
Ingredients for DIY Silicone Sealant
To make your own silicone sealant, you’ll need:
- 100% silicone caulk (acetoxy or neutral cure)
- Cornstarch or talcum powder (for thickening)
- Mineral spirits or denatured alcohol (for thinning)
- Optional: Pigment or dye for color customization
Ensure the silicone caulk is pure silicone without added fungicides or other chemicals for best results.
Step-by-Step Guide to Making Silicone Sealant
Step 1: Prepare Work Area
Set up a clean and well-ventilated workspace for mixing the silicone sealant.
Step 2: Thicken the Silicone Caulk
In a disposable container, combine the silicone caulk with cornstarch or talcum powder. Add small amounts of powder gradually until the desired consistency is achieved. Mix thoroughly to evenly distribute the thickening agent.
Step 3: Thin the Sealant (Optional)
For a thinner consistency, add mineral spirits or denatured alcohol to the thickened silicone mixture. Use small amounts and mix thoroughly until the sealant reaches the desired viscosity.
Step 4: Customize with Pigment (Optional)
If desired, add pigment or dye to the silicone mixture to achieve a specific color. Mix thoroughly until the color is evenly distributed.
Step 5: Testing and Adjustments
Perform a small test application of the homemade silicone sealant to ensure the consistency and performance meet your needs. Make any necessary adjustments by adding more thickener or thinning agent.
Tips for Using DIY Silicone Sealant
- Use the homemade sealant within a few hours of mixing for best results.
- Store any unused sealant in an airtight container to prevent curing.
- Apply the sealant using a caulking gun or similar tool for precise application.
- Allow the sealant to cure completely according to the manufacturer’s instructions before exposing it to moisture.
Safety Precautions
- Wear gloves and work in a well-ventilated area when handling silicone caulk and additives.
- Avoid contact with skin and eyes, and wash thoroughly if exposed.
Conclusion
Making your own silicone sealant is a rewarding DIY project that can save you money and provide a customized solution for various home improvement tasks. Follow this guide and experiment with different formulations to create the perfect sealant for your specific needs.
Implement these tips and techniques to make your own silicone sealant and tackle your next home improvement project with confidence!
Recent Comments