How to Apply Silicone Sealant Like a Pro
Mastering silicone sealant application can transform your DIY projects from amateur to professional quality. Whether you are sealing bathrooms, kitchens, or other areas, proper technique combined with quality Simseal silicone sealant makes all the difference. This guide will show you exactly how to achieve perfect, long-lasting results with silicone sealant.
Essential Tools and Materials
Learn How to Apply Silicone Sealant Like a Pro before starting, gather your supplies. You will need quality silicone sealant like Simseal products, a caulking gun, utility knife, masking tape, methylated spirits, clean cloths, and a smoothing tool. Additionally, always check the product Technical Data Sheet (TDS) for performance specifications and Safety Data Sheet (SDS) for proper handling instructions.
Preparation is Everything
Proper surface preparation ensures your silicone sealant adheres correctly and lasts for years. First, remove all old sealant using a utility knife. Then, thoroughly clean the area with methylated spirits to eliminate grease and moisture. Finally, apply masking tape along both sides of the joint for clean, straight lines.
Perfect Application Technique
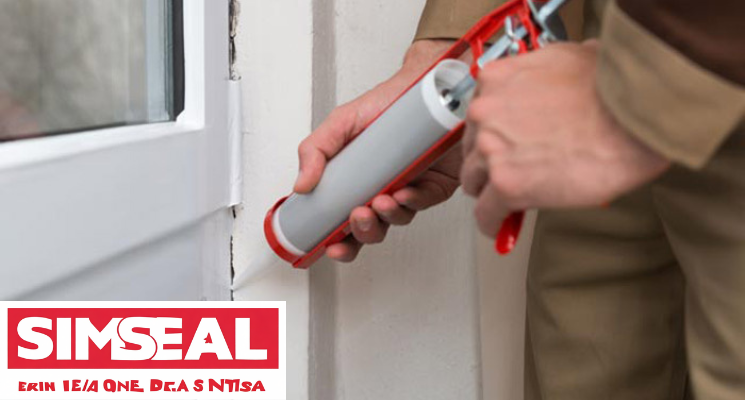
Cut the silicone sealant nozzle at a 45-degree angle. Then, load the tube into your caulking gun and apply steady, consistent pressure. Hold the gun at a consistent angle and move at an even pace. This technique ensures the silicone sealant fills the joint completely without gaps or bubbles.
Professional Finishing Touches
Immediately after applying silicone sealant, smooth the bead using a professional tool or finger dipped in soapy water. Then, remove the masking tape carefully before the silicone sealant skins over. Finally, allow adequate curing time as specified in the product TDS documentation.
Matte Finish Option for Modern Looks
For a contemporary, professional appearance, consider Simseal silicone sealant with matte finish. This innovative formulation creates a non-reflective, velvety surface that blends discreetly with modern fixtures. The matte finish silicone sealant maintains all the performance benefits of superior waterproofing and flexibility while offering a sophisticated look that hides dirt and water spots effectively.
Recommended Simseal Products
-
SS100 Wet Area – Perfect for bathrooms and wet areas
-
Natural Stone – Ideal for delicate surfaces
-
S60 Clad & Glaze – Great for structural applications
-
S50 Roof, Gutter & Glass – Excellent for exterior and high temperature applications
Pro Tips for Perfect Results
Work in temperatures between 5°C and 35°C for optimal silicone sealant performance. Always ensure surfaces are completely dry before application. Tool the silicone sealant immediately after application for the cleanest finish. Finally, avoid disturbing the sealed area for at least 24 hours to allow proper curing.
Troubleshooting Common Issues
If you encounter issues with silicone sealant application, refer to the product TDS for specific guidance. Common problems like poor adhesion often stem from inadequate surface preparation. Similarly, uneven appearance usually results from incorrect tooling technique or using expired silicone sealant.
Achieving Professional Quality Results
Mastering silicone sealant application takes practice, but with quality Simseal products and proper technique, you can achieve professional-looking results that last. Remember that good preparation, consistent application, and proper finishing are the keys to success with any silicone sealant project.
For professional and expert advice on silicone sealant application, visit Seal’em Solutions. Our team provides comprehensive support and quality Simseal products that ensure your projects achieve durable, professional results. Remember, for quality that lasts, don’t just caulk it. Seal’em.
Recent Comments