
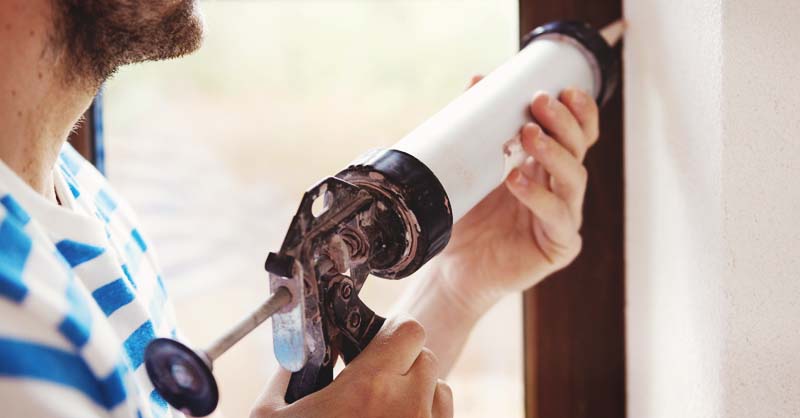
The humble caulking gun is a tool found in nearly every Aussie shed, but mastering it is what separates a messy DIY job from a clean, professional finish. Whether you are sealing a bathroom, filling gaps in trim, or fixing a roof, knowing your way around a caulking gun is essential. This guide will walk you through everything from choosing the right gun to achieving that perfect bead.
Part 1: Know Your Tool – The Caulking Gun
Not all caulking guns are created equal. Using the right one makes the job infinitely easier.
Drip Free Guns: This is the gold standard for professionals and serious DIYers. A drip-free gun has a mechanism that stops the flow of sealant the instant you release the trigger, preventing oozing and mess. This is a game changer for clean work.
Thrust Ratio: This refers to the mechanical advantage. A higher ratio (like 10:1 or 12:1) requires less effort on the trigger to push out thicker sealants.
Smooth Rod vs. Frame Style: A solid, smooth rod is more durable and better for heavy duty use than a wire frame, which can bend under pressure.
Part 2: The Art of the Perfect Bead – A Step by Step Guide
What You Will Need:
-
Caulking gun
-
Sealant cartridge
-
Sharp utility knife
-
Wire or long nail (for breaking the inner seal)
-
Damp cloth or rag
The Process:
- Prepare the Surface: This is the most critical step for longevity. The surface must be clean, dry, and free of dust, grease, and loose material. Use a cleaner or isopropyl alcohol for best results.
- Load the Cartridge: Place the sealant tube firmly into the gun’s frame.
- Cut the Nozzle: This is where many go wrong. Do not cut too much! Using a sharp knife, cut the nozzle at a 45-degree angle. Start with a small hole – you can always make it bigger, but you can’t make it smaller. The size of the hole should match the desired bead width.
- Puncture the Inner Seal: Insert a long nail or piece of wire into the nozzle to break the foil seal inside the tube.
- Prime the Gun: Squeeze the trigger a few times until a small amount of sealant appears at the tip.
- Apply with Confidence: Hold the gun at a consistent 45-degree angle to the surface. Apply steady pressure on the trigger and pull the gun towards you in one smooth, continuous motion. The goal is to push the bead forward, not drag it.
- Tooling (Finishing): This is the secret to a pro look. Immediately after applying the bead, use a damp finger or a smoothing tool to gently smooth the bead into a concave, even finish. This pushes the sealant into the joint for a better bond.
- Clean Up: Use your damp cloth to clean up any excess sealant immediately before it skins over.
Part 3: Choosing the Right Simseal Product for the Job
Using the wrong sealant is a recipe for failure. Always check the product’s Technical Data Sheet (TDS) for its intended use and the Safety Data Sheet (SDS) for safe handling instructions. Here are five specialised Simseal products for common Australian jobs:
SS100 Wet Area: The top choice for bathrooms and wet areas. Its neutral cure formula makes it mould and mildew resistant, perfect for sealing around sinks, showers, and baths. (Its TDS will confirm its suitability for constant damp environments).
Gap Filler: An ideal, paintable sealant for interior gaps and cracks. Great for sealing skirting boards, architraves, and plasterboard joints. Its SDS will note it’s easy to clean up with water before it cures.
Natural Stone: Specifically formulated for sensitive surfaces like marble, granite, and limestone. Its neutral cure formula prevents staining and ensures a perfect, long lasting seal for benchtops and tiling.
S50 Roof, Glass & Gutter: A tough, general purpose sealant designed for exterior repairs. Excellent for sealing around roof sheeting, flashings, glass, and gutters, offering strong weatherproofing capabilities.
Multi Purpose: A versatile, fast curing silicone for a wide range of general household and building applications. Provides a strong, flexible, and waterproof seal on most common surfaces.
Part 4: Pro Tips and Common Mistakes to Avoid
Mistake: Caulking over old, failing sealant.
Tip: Always remove all old sealant completely before applying a new bead.
Mistake: Cutting the nozzle too big.
Tip: Start small. You can always cut more if the bead is too thin.
Mistake: Stretching the bead as you apply it.
Tip: Move the gun slower than you think. Let the bead roll out of the nozzle and fill the joint.
Pro Tip: Use masking tape on either side of the joint for absolutely perfect, razor straight lines. Remove the tape immediately after tooling.
Conclusion
A caulking gun is a simple tool that, when used with knowledge and a bit of practice, can produce professional grade results. By choosing the right gun, preparing your surface properly, and selecting the correct Simseal product for the task, you can tackle any sealing project with confidence. Remember, the secret is in the preparation and the finish.
For innovative sealing solutions and expert advice, visit Seal’em Solutions. Our team provides the materials and expertise that power modern sealing technologies.
Recent Comments